Biking is fun, really!
By Kelly Howard, BCO Event Leader
I was on a ride this morning. It was a beautiful day and cyclists were out in force. I saw a familiar sight several times. A woman/girl is on her bike and is struggling to get up an incline while her male cycling partner waits at the top. Casually straddling his bike, he is stopped somewhere ahead shouting words (hopefully) of encouragement. She dismounts almost at the top, discouraged, tired, and frustrated. He can’t understand what’s holding her back. Typically his way of helping is to repeat “pedal harder.”
That's NOT the solution.
It always takes all my willpower not stop and give a few quick pointers.
If you find yourself in this situation, struggling to keep up, make it up an incline or ride into a strong headwind here are a few suggestions to make it easier. Biking should be enjoyable!
Download your Biking Checklist >> Here <<
1. Relax and go with brains over brawn.
There’s a possibility that your riding partner rides more than you or has ridden more than you in the past. Chances are his legs are stronger, and he can dig in and power through situations. No worries, you are going to use your brain over the brawn! Take a deep breath, and relax your grip on the handlebars just a little bit. Holding on with a death grip fatigues your muscles quicker, you can still control your bike with a light touch. Smile, it relaxes you and your shoulders.
2. Check your seat height. Incorrect seat height is the number one problem I see. Often when I suggest raising a seat, the rider will say they are afraid to be too high. When you are too low on a seat your legs can’t do their job, they are at the wrong angle, and it puts undue pressure on your knees. Your seat should be high enough so that there is a slight bend in your knee when you foot is flat on the pedal, and your butt is firm on the seat. Move up in small increments if you are worried. Raise it ½ an inch and then practice getting on and off. Practice standing while straddling the top tube ( the metal bar that goes from your seat to your steering stem) so you know you can reach the ground and then raise it again until you reach the proper height. No one to hold the bike while you check the seat height? Put your bike in a doorway where you can easily reach both sides of the door and raise your seat and test it there. To raise a seat you will probably need an Allen wrench, and you will find the nut just under your seat. Some bikes have what are called quick release which allows you to pull on a small handle and then turn to loosen or tighten.
3. Proper air in your tires is the difference between gliding and slugging it out. You cannot tell if you have enough air in your tires by just feeling the tire. General rules of thumb for airing tires: a road bike will take between 80 and 130psi, a mountain bike 25 to 40psi and a hybrid 50-70psi. A lot of variables go into tire pressure but if you are an average size female go for the middle range. I am 5’6” and weigh 133; I put 100psi in my road bike, 30 in my mountain bike and 60 in my single speed, which has tires similar to a hybrid. Use a pump with an air gauge built. A decent pump is necessary to have.
4. Learn the basics of using your gears; unless you are on a single speed (bike with one gear), you’ll have something to work with. Typically you will have three gears to shift on the left-hand shifter which changes the front (large chain ring), and the right shifter changes the rear or back cassette. Think of your front gear for making big changes and your rear shifter as fine-tuning. The easiest to pedal gear would be #1 (some bikes have the shifter numbered), or if you look down, it will be your smallest chain ring. This is where you chain will need to be if you are struggling with a hill or heavy wind. If you feel like you are spinning your pedals and not get anywhere, shift up to 2 or 3. Keep your chain on your rear wheel (called a rear cassette) in the middle (if your shifter is numbered, around #5) and work with the front gear (left shifter) until you get comfortable and are ready for some fine-tuning. Remember, peddling harder is not the goal, peddling smoothly and keeping a consistent number of pedal turns (called cadence) is the goal.
Gears help you pedal easier no matter what the terrain. Remember, shift to an easier gear going up a hill or when you’re riding into the wind. Use a harder gear on flat areas or if you have a tailwind. When you shift, ease up on your peddling, especially on hills; if you’re pushing hard, the chain may come off. No big deal.
5. Practice. The saying “it’s like riding a bike” means you’re not going to fall over when you get on a bike after many years of not riding. It doesn’t mean you will remember all the nuances of riding when you jump on, especially if you never knew them! Spend just a little time using your gears, learning to air your tires, dialing in your seat height and staying relaxed while you ride. It will make a world of difference!

One last note, a decent bike makes a difference.
A friend of mine was always frustrated because riding with her husband wasn’t any fun. He rode a lot, and he was a good rider. He would leave her behind and then circle back and then take off again. One day we were all talking, and he said to her “you need to get Kelly to show you how to ride.”
I was more than happy to help. We went out to a local trail, made the necessary adjustments on her bike, talked about gears, checked tire pressure everything looked good. And yet, she was still struggling. I suggested we switch bikes bc I wanted to see what was going on.
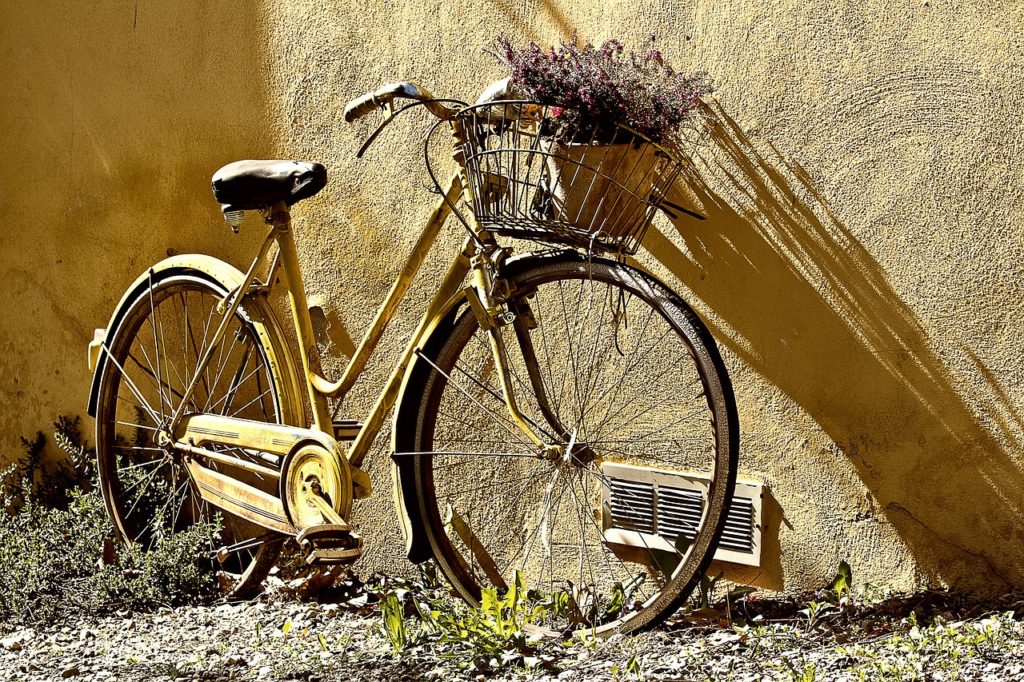
She got on my bike and took off. Quite frankly her bike was one step below yard art. It weighed a ton; it handled terribly, it wasn’t any fun. Bikes should be fun.
We headed to the local bike shop (she worried all the way that she shouldn’t spend too much money on a new bike). I was nice to her husband and didn’t tell her how much he had spent on his bike, but I knew the model and knew the brand and had a good ball park of what that VERY nice bike had cost. I didn’t think she needed to worry about spending money.
We tried several bikes, and she settled on a very comfortable, nice starter bike, which cost about $500. Which might seem like a lot if you bought your bike from a big box store and spent a third of that. The reality is a good bike well taken care of should last you forever!
My friend and her husband still ride together. She’s never going to be as fast as him because she doesn’t care and doesn’t ride much. But now she has a bike she loves, she knows how to handle it and enjoys her weekend rides!

Responses